CoreUI - Open-Source Starters
CoreUI, the iconic free admin dashboard crafted by the agency with the same name as the product, is now provided in many flavors by AppSeed: Jinja, Flask, and Django.

CoreUI, the iconic free admin dashboard crafted by the agency with the same name as the product, is now provided in many flavors by AppSeed: Jinja, Flask and Django. Developers that use CoreUI might win some time by using this free starters released under the MIT License on Github.
- CoreUI - HTML version (source code)
- CoreUI - Jinja Template (source code) - LIVE Demo
- CoreUI - Flask Version (product page) - LIVE Demo
- CoreUI - Django (product page) - LIVE Demo
- Active support via Github & Discord - 24/7 LIVE Service
CoreUI - Product Information
This amazing product comes with an MIT License and is actively supported by a small community with 20+ open-source enthusiasts.
CoreUI - Official product information
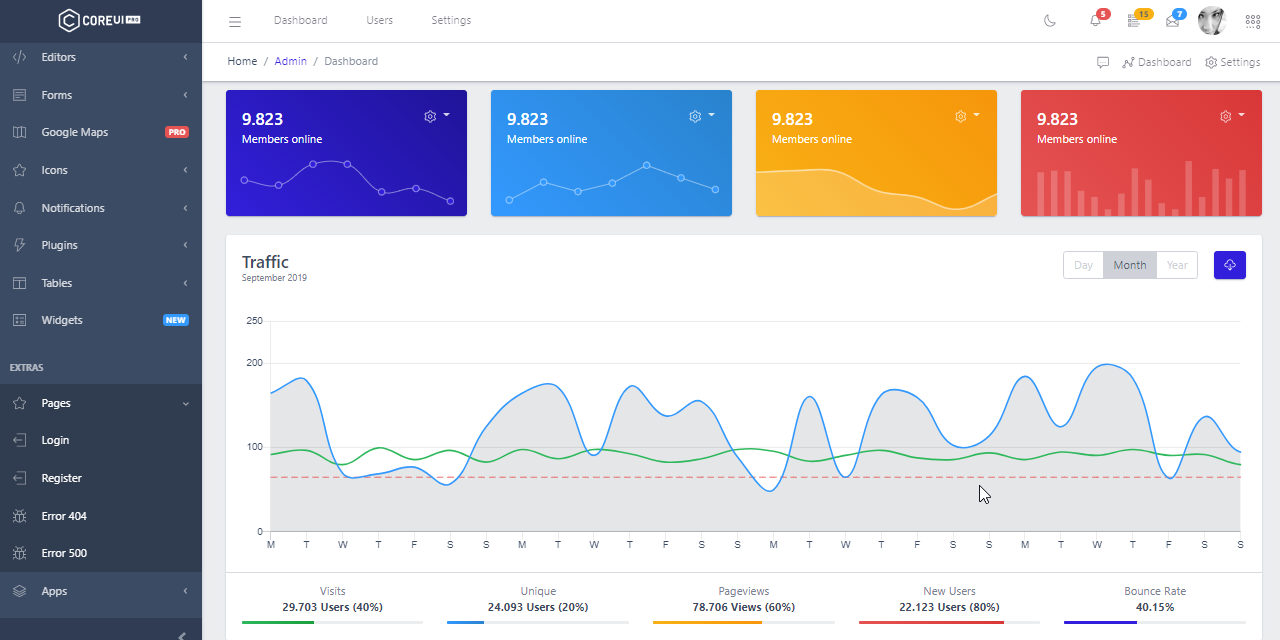
CoreUI is an Open Source Bootstrap Admin Template. But CoreUI is not just another Admin Template. It goes way beyond hitherto admin templates thanks to transparent code and file structure. And if that's not enough, let’s just add that CoreUI consists bunch of unique features and over 1000 high quality icons.
CoreUI is meant to be the UX game changer. Pure & transparent code is devoid of redundant components, so the app is light enough to offer ultimate user experience. This means mobile devices also, where the navigation is just as easy and intuitive as on a desktop or laptop. The CoreUI Layout API lets you customize your project for almost any device – be it Mobile, Web or WebApp – CoreUI covers them all!
To compile the CoreUI and generate the HTML pages all we need is NodeJs & GIT command tool accessible via a simple terminal window. In case you have some time to spare, just open a terminal window and type a few commands.
$ # Clone the latest sources
$ git clone https://github.com/coreui/coreui-free-bootstrap-admin-template.git
$ cd coreui-free-bootstrap-admin-template
$
$ # Install modules
$ yarn # install modules
$
$ # Start for development
$ yarn serve
$
$ # Built for production
$ yarn build
If all goes well, we should see CoreUI dashboard running in the browser - by default the project starts on port 3000.

CoreUI adoption has some impressive numbers if we look at the statistics provided by Github: 10.3k Stars, 2.7k Forks, 270 Watchers.
Let's move on with other CoreUI goodies provided by AppSeed - a platform that uses automation tools to generate starters using flat HTML as input. Projects comes with basic modules, database, a simple codebase that follows the best practices and deployment scripts for Docker, Nginx and other well-known platforms.
CoreUI - Jinja Template
For new comers, Jinja is a modern and designer-friendly templating language for Python, modelled after Django’s templates. It is fast, widely used and secure with the optional sandboxed template execution environment. Jinja is basically an engine used to generate HTML or XML returned to the user via an HTTP response.
Jinja is used by well-known web frameworks like Flask and Django (since version 1.8) and provide a modern and secure way to render HTML files and build platforms and web apps with many pages.
Another important fact related to Jinja is the syntax similarities with other template engines like Nunjunks, Liquid, Blade (Laravel). Based on this, any Jinja template can be easily integrated into Php, Nodejs projects.
- Jinja - the official website
- Jinja Template - a curated list with starters published on Github
- What is Jinja - a simple introduction to Jinja for beginners
How to compile CoreUI Jinja Template
The build instructions are extracted from the README file, published along with the sources.
$ # Clone the sources
$ git clone https://github.com/app-generator/theme-jinja2-coreui.git
$ cd theme-jinja2-coreui
$
$ # Virtualenv set up
$ virtualenv env
$ source env/bin/activate
$
$ # Install requirements
$ pip3 install -r requirements.txt
$
$ # Set the FLASK_APP environment variable
$ export FLASK_APP=run.py
$
$ # Run the Jinja Template
$ flask run
$
$ # Access the UI in browser: http://127.0.0.1:5000/
The UI available on port 5000 should be similar the one served by the LIVE Demo deployment.

CoreUI - Flask Dashboard
The Flask version of CoreUI is provided using a simple codebase, database, ORM and deployment scripts for Docker, HEROKU and Gunicorn/Nginx stack. Is quite easy, even for beginners to understand and start coding new features on top of this simple starter.
How to get started with CoreUI Flask
The first step is to make sure you have a proper environment for compiling and using the project. Flask being a Python framework, off course requires Python to be accessible via a terminal window. If you're not sure about this, please access below links and set up your workstation for Flask.
- What is Flask - a simple tutorial provided by AppSeed
- Flask - Code a simple web app
- How to set up Python
- Setup CentOS for development
- Setup Ubuntu for development
- Setup Windows for development
Once we finish the workstation set up, we can clone the CoreUI Flask and compile it locally.
$ # Get the code
$ git clone https://github.com/app-generator/flask-dashboard-coreui.git
$ cd flask-dashboard-coreui
$
$ # Virtualenv set up
$ virtualenv env
$ source env/bin/activate
$
$ # Install modules - SQLite Database
$ pip3 install -r requirements.txt
$
$ # Set the FLASK_APP environment variable
$ export FLASK_APP=run.py
$
$ # Start the application (development mode)
$ flask run
$
$ # Access the dashboard in browser: http://127.0.0.1:5000/
If all goes well, we can visit the app in browser. By default, guest users are redirected to the login page. After authentication, all private pages become accessible and we can start coding a nice Flask dashboard on top of this material-based design.
CoreUI - Django Dashboard
Django version of CoreUI is provided with an identical feature set as Flask version and the app can be easily compiled just be writing a few lines in the terminal.
Note: This code snippet is a simplified version, full-version can be found in the README file.
$ # Get the code
$ git clone https://github.com/app-generator/django-dashboard-coreui.git
$ cd django-dashboard-coreui
$
$ # Virtualenv modules installation (Unix based systems)
$ virtualenv env
$ source env/bin/activate
$
$ # Virtualenv modules installation (Windows based systems)
$ # virtualenv env
$ # .\env\Scripts\activate
$
$ # Install modules - SQLite Storage
$ pip3 install -r requirements.txt
$
$ # Create tables
$ python manage.py makemigrations
$ python manage.py migrate
$
$ # Start the application (development mode)
$ python manage.py runserver # default port 8000
$
$ # Start the app - custom port
$ # python manage.py runserver 0.0.0.0:<your_port>
$
$ # Access the web app in browser: http://127.0.0.1:8000/
App Bootstrap Flow
- Django bootstrapper
manage.pyusescore/settings.pyas the main configuration file core/settings.pyloads the app magic from.envfile- Redirect the guest users to Login page
- Unlock the pages served by app node for authenticated users
Thanks for reading! For more starters feel free to access the AppSeed platform.
- CoreUI - Jinja Template (source code) - LIVE Demo
- CoreUI - Flask Version (product page) - LIVE Demo
- CoreUI - Django (product page) - LIVE Demo
- More CoreUI starters provided by AppSeed