Flask Dashboard - Adminator Design
Adminator, the popular Bootstrap4 Admin template provided by ColorLib is now available as a simple Flask Dashboard coded with database, authentication, ORM and deployment scripts.
Adminator, the popular Bootstrap Admin template provided by ColorLib is now available as a simple Flask Dashboard coded with database, authentication, ORM, and deployment scripts.
Classified as a microframework, Flask is written in Python and it does not require particular tools or libraries. It has no database abstraction layer, form validation, or any other components where pre-existing third-party libraries provide common functions.
✨ Adminator Dashboard
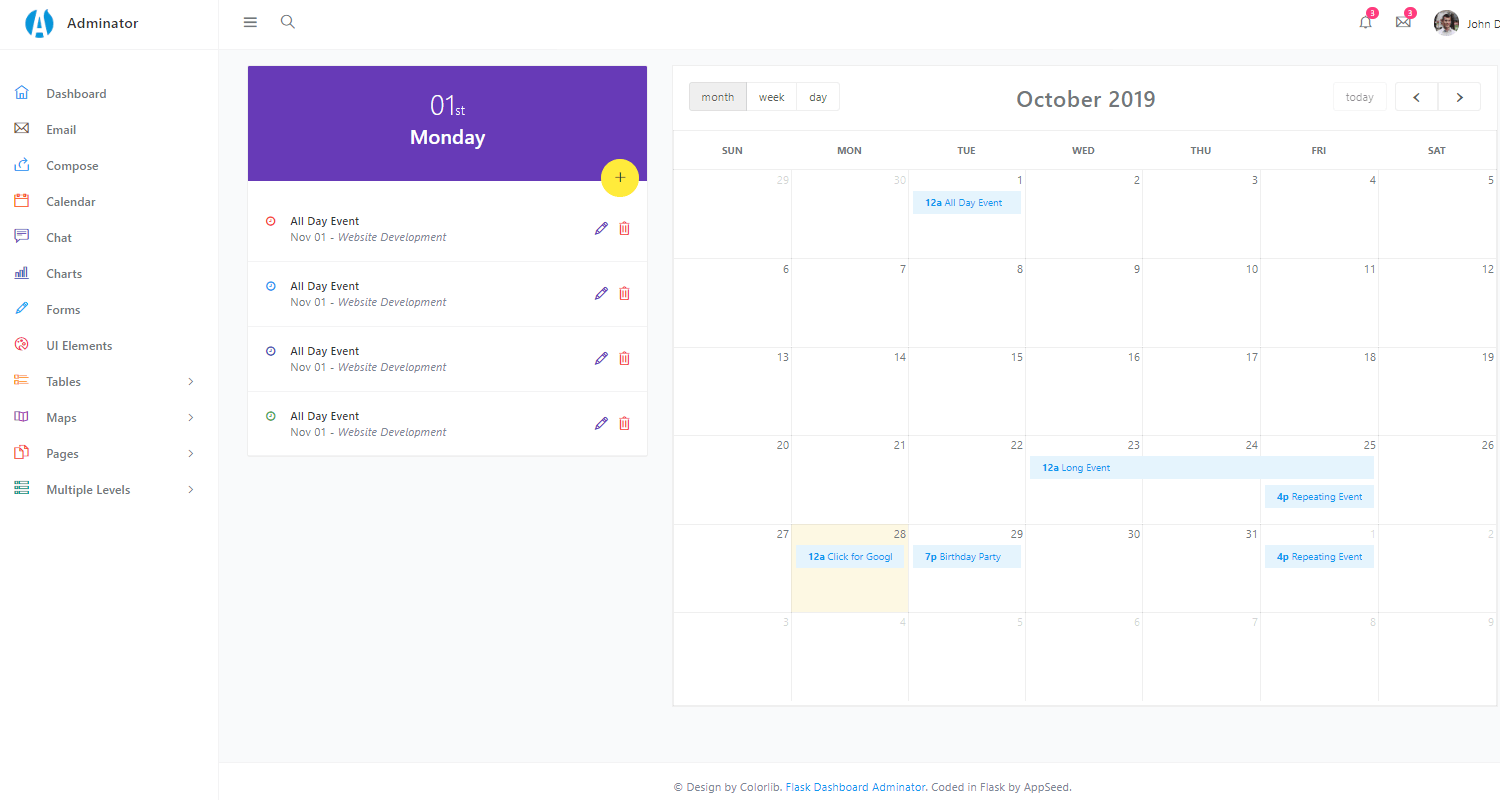
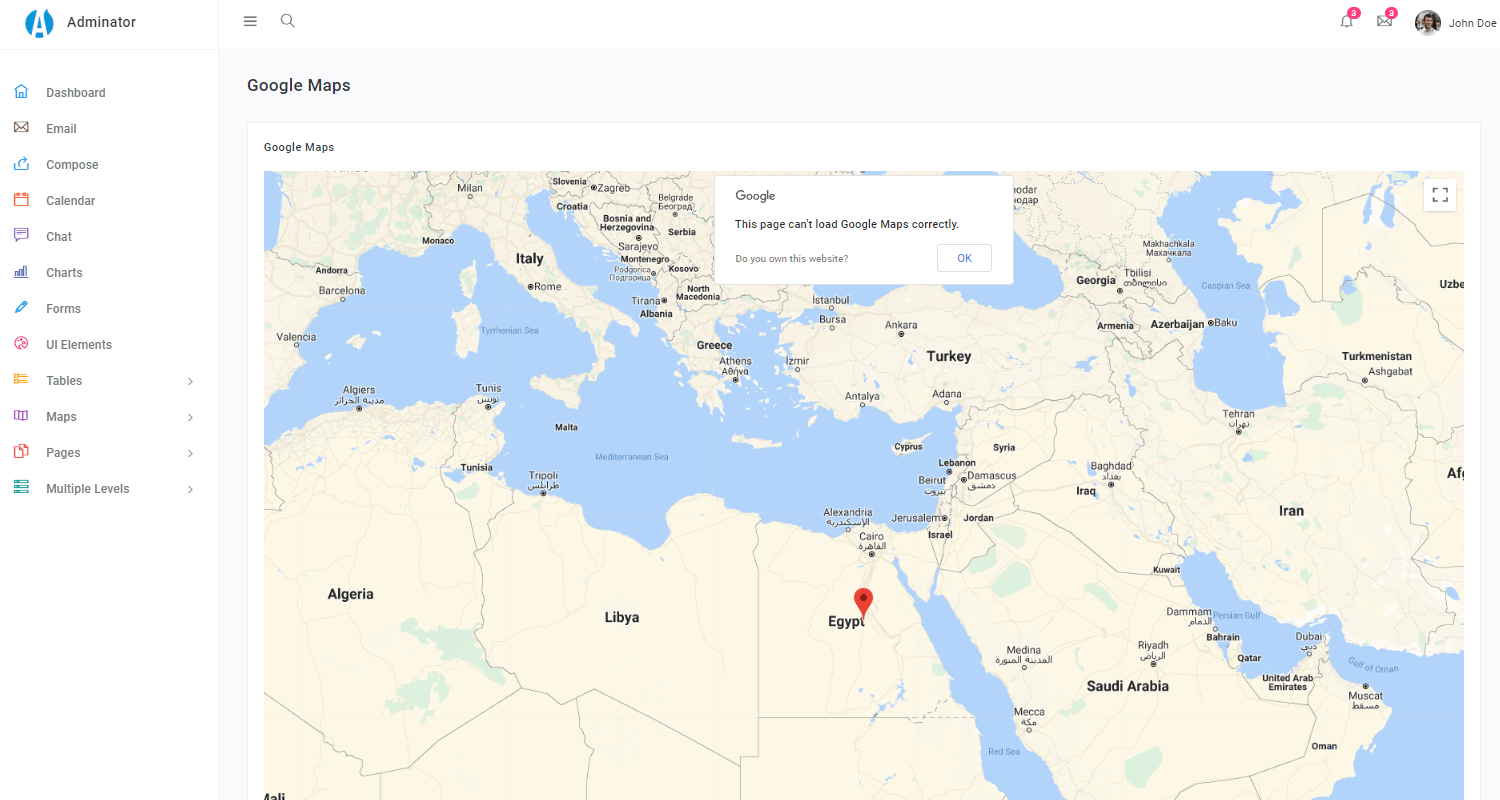
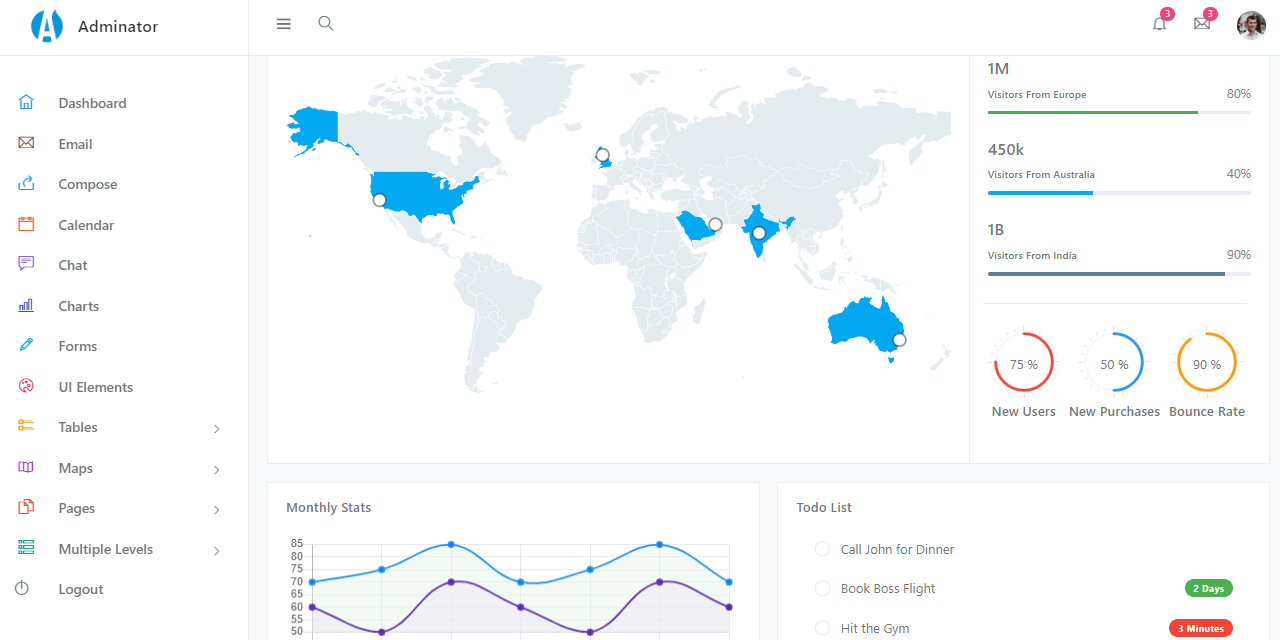
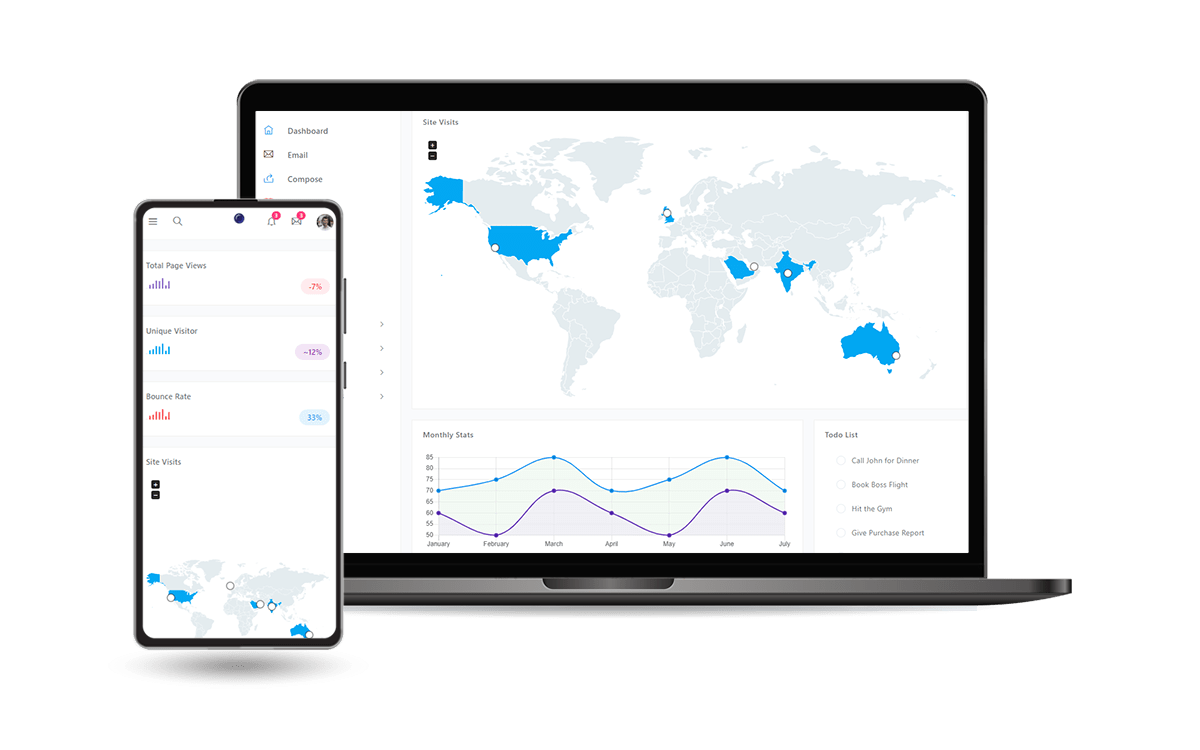
Adminator is a responsive Bootstrap 4 Admin Template. It provides you with a collection of ready-to-use code snippets and utilities, custom pages, a collection of applications, and some useful widgets.
This UI kit comes with a clean and modern design that might help you start a new project. It’s easily customizable and provides you with a collection of custom pages, applications, and necessary widgets to code a beautiful admin dashboard in less time.
- 👉 Adminator Flask - product page
- 👉 Adminator Flask - LIVE Deployment
- 👉 Complete documentation -
Learn how to use and update the product
✨ What is Flask
Flask is a lightweight WSGI web application framework. It is designed to make getting started quick and easy, with the ability to scale up to complex applications. It began as a simple wrapper around Werkzeug and Jinja and has become one of the most popular Python web application frameworks.
Flask is a micro web framework written in Python. It is classified as a microframework because it does not require particular tools or libraries. It has no database abstraction layer, form validation, or any other components where pre-existing third-party libraries provide common functions.
Starting with Flask is super easy. We need to have Python installed and a few minutes to spare:
$ pip install flaskCreate a new file hello.py to bootstrap a simple Flask web app.
from flask import Flask

app = Flask(__name__)

@app.route('/')
def hello():
    return 'Hello from Flask'
Now, we can execute our Flask app, directly from the terminal:
$ env FLASK_APP=hello.py flask run
 * Serving Flask app "hello"
 * Running on http://127.0.0.1:5000/ (Press CTRL+C to quit)
For more information about Flask, please access:
- 👉 Flask - official website
- 👉 Flask Cheat Sheet - Blog article
- 👉 Flask Tutorial - Content provided by experienced developers
✨ Prepare the environment
To build this free admin dashboard, Python3 should be installed properly in our workstation. If you are not sure if Python is properly installed, please open a terminal and type python --version. The full list of dependencies and tools required to build the app:
- Python3 - the programming language used to code the app
- Git - used to clone the source code from the GitHub repository
- A Github account - the invitation to the source code, will be sent to your account.
- Basic development tools (g++ compiler, python development libraries ..etc) used by Python to compile the app dependencies in your environment.
How to check if Python installed
$ python --version
Python 3.7.2 # <--- All good
Check GIT command tool
$ # Check git
$ git --version
$ git version 2.10 # <--- All good
✨ Source Code Structure
The boilerplate code is built with a modular structure and the most important files and directories are shown below:
< PROJECT ROOT >
   |
   |-- app/                      # Implements app logic
   |    |-- base/                # Base Blueprint - handles the authentication
   |    |-- home/                # Home Blueprint - serve UI Kit pages
   |    |
   |   __init__.py               # Initialize the app
   |
   |-- requirements.txt          # Development modules - SQLite storage
   |-- requirements-mysql.txt    # Production modules  - Mysql DMBS
   |-- requirements-pqsql.txt    # Production modules  - PostgreSql DMBS
   |
   |-- .env                      # Inject Configuration via Environment
   |-- config.py                 # Set up the app
   |-- run.py                    # Start the app - WSGI gateway
   |
   |-- ************************************************************************
To build the app and see something on the screen, the build instructions provided in the README file (published on Github) should be enough. In case you need more information, access the product page - hosted by the AppSeed platform.
$ # Clone the sources
$ git clone https://github.com/app-generator/flask-dashboard-adminator.git
$ cd flask-dashboard-adminator
$
$ # Virtualenv modules installation
$ virtualenv env
$ source env/bin/activate
$
$ # Install requirements
$ pip3 install -r requirements.txt
$
$ # Set the FLASK_APP environment variable
$ export FLASK_APP=run.py
$
$ # Run the application
$ # --host=0.0.0.0 - expose the app on all network interfaces (default 127.0.0.1)
$ # --port=5000 - specify the app port (default 5000)
$ flask run --host=0.0.0.0 --port=5000
$
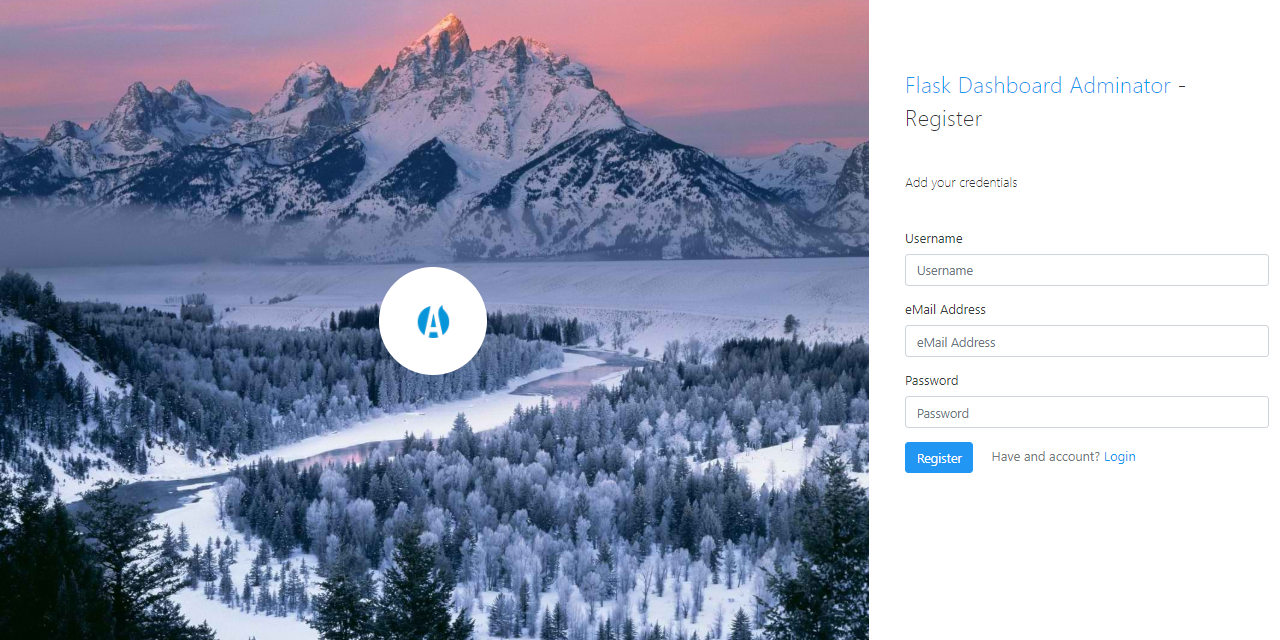
$ # Access the app in browser: http://127.0.0.1:5000/By visiting the app in the browser, we should see the login page because guests (unauthenticated) users are redirected to the login page. By default, the app is not provisioned with a default user and we need to create one using the registration page.