Flask Dashboard - Light Bootstrap Dashboard
The article presents an open-source Flask Dashboard coded with basic modules, database and deployment scripts on top of a modern UI Kit - Light Bootstrap Dashboard.

This article presents an open-source Flask Dashboard coded with basic modules, database and deployment scripts on top of a modern UI Kit - Light Bootstrap Dashboard, crafted by Creative-Tim. The starter, provided by AppSeed, comes with a permissive (MIT) license that allows unlimited copies for hobby & commercial products.
- Flask Dashboard - Light Design, the product page
- Flask Dashboard Light Demo - LIVE App Deployment
- Support via Github & Discord - 24/7 LIVE Service
- Flask Dashboard Light PRO - The premium starter
Flask Dashboard - Codebase
The project comes with basic modules, database, ORM and deployment scripts for Docker an Gunicorn/Nginx stack. Being a simple Flask starter, any developer with a basic programming knowledge might start faster a new project by coding only the specific part of the project on top of this simple codebase.
App Features
- UI Kit: Light Bootstrap (Free Version) by Creative-Tim
- SQLite, PostgreSQL, SQLAlchemy ORM
- Alembic (DB schema migrations)
- Modular design with Blueprints
- Session-Based authentication (via flask_login), Forms validation
- Deployment scripts: Docker, Gunicorn / Nginx, Heroku
- Free support via Github and Discord.
What is Flask
For newcomers, Flask is a lightweight WSGI web application framework. It is designed to make getting started quick and easy, with the ability to scale up to complex applications. Classified as a microframework, Flask is written in Python and it does not require particular tools or libraries. It has no database abstraction layer, form validation, or any other components where pre-existing third-party libraries provide common functions.
Compared to his older brother Django, Flask provides a lightweight codebase and more freedom to the developer. This might be a good thing because you have more freedom in terms of app design and structure but in the same time, this freedom might inject problems when your application becomes complex.
To use Flask, we need to have a Python environment up & running. In case Python is not installed, please follow this tutorial and get back here after.
To install Flask, we can use PIP to install it:
$ # Flask install using PIP
$ pip install Flask
During Flask installation, other modules will be installed under-the-hood:
- Werkzeug implements WSGI, the standard Python interface between applications and servers.
- Jinja is a template language that renders the pages your application serves.
- MarkupSafe comes with Jinja. It escapes untrusted input when rendering templates to avoid injection attacks.
- ItsDangerous securely signs data to ensure its integrity. This is used to protect Flask’s session cookie.
- Click is a framework for writing command line applications. It provides the flask command and allows adding custom management commands.
Just to have an idea,how easy is to get started with Flask, take a look at this minimal code snippet:
from flask import Flask
app = Flask(__name__)

@app.route('/')
def hello_world():
    return 'Hello, from Flask!'
By running this file with Flask, we can code a super simple web app using only six lines of code, and this is quite nice.
Now back to our Flask Light Bootstrap dashboard let's say a few words about the design and the amazing team that code this UI Kit - Creative-Tim.
Light Bootstrap Dashboard
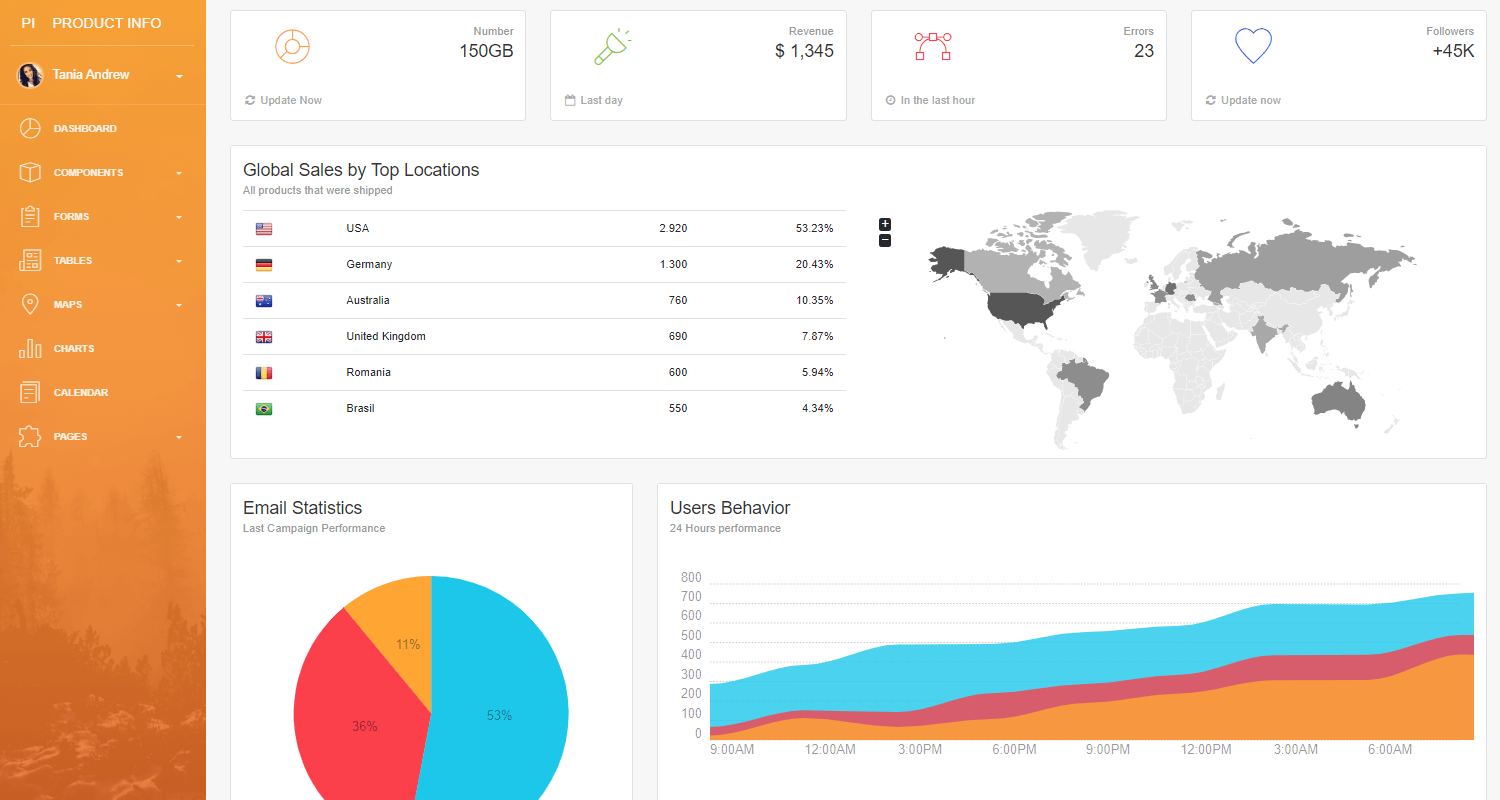
Light Bootstrap Dashboard is bootstrap 4 admin dashboard template designed to be beautiful and simple. It is built on top of Bootstrap 4 and it is fully responsive. It comes with a big collections of elements that will offer you multiple possibilities to create the app that best fits your needs. It can be used to create admin panels, project management systems, web applications backend, CMS or CRM.
The product represents a big suite of front-end developer tools that can help you jump start your project. We have created it thinking about things you actually need in a dashboard. Light Bootstrap Dashboard contains multiple handpicked and optimised plugins. Everything is designed to fit with one another. As you will be able to see, the dashboard you can access on Creative Tim is a customisation of this product.
- Light Bootstrap Dashboard - the product page
- Creative-Tim (affiliate link) - more starters from this company
Flask Dashboard - Compile the code
To compile this simple Flask starter, the first step is to download the sources from Github (public) repository - Flask Light Bootstrap Sources. Once we have downloaded the source code, please open a terminal and go inside the directory and follow the steps.
#1 - Create a virtual environment
Using a virtual environment is a recommended practice among Python developers because allows the development in a sand boxed environment. This practice is quite similar with Nodejs app that download locally all necessary dependencies inside node_modules directory.
$ # Create and activate a Virtualenv (Unix based systems)
$ virtualenv env
$ source env/bin/activate
$
$ # Create and activate a Virtualenv (Windows based systems)
$ # virtualenv env
$ # .\env\Scripts\activate
#2 - Install app dependencies
$ # Install requirements
$ pip3 install -r requirements.txt
#3 - Set up environment for Flask
$ # Set the FLASK_APP environment variable
$ (Unix/Mac) export FLASK_APP=run.py
$ (Windows) set FLASK_APP=run.py
$ (Powershell) $env:FLASK_APP = ".\run.py"
$
$ # Set up the DEBUG environment
$ # (Unix/Mac) export FLASK_ENV=development
$ # (Windows) set FLASK_ENV=development
$ # (Powershell) $env:FLASK_ENV = "development"
Activate the DEBUG environment is optional but recommended in case we face issues during our development. Beginners might skip over this option, just to keep things simple.
#4 - Start the app
Flask provide a simple server for rapid development. Please note that is not recommended for production, being a super simple server unable to handle a production usage and load.
$ # Run the application
$ # --host=0.0.0.0 - expose the app on all network interfaces (default 127.0.0.1)
$ # --port=5000    - specify the app port (default 5000)
$ flask run --host=0.0.0.0 --port=5000
At this point, we can visit the app in the browser http://127.0.0.1:5000/. By default, the app will redirect guest users to the login page. To access the private pages:
- Create a new user using the registration page
- Authenticate using the login page
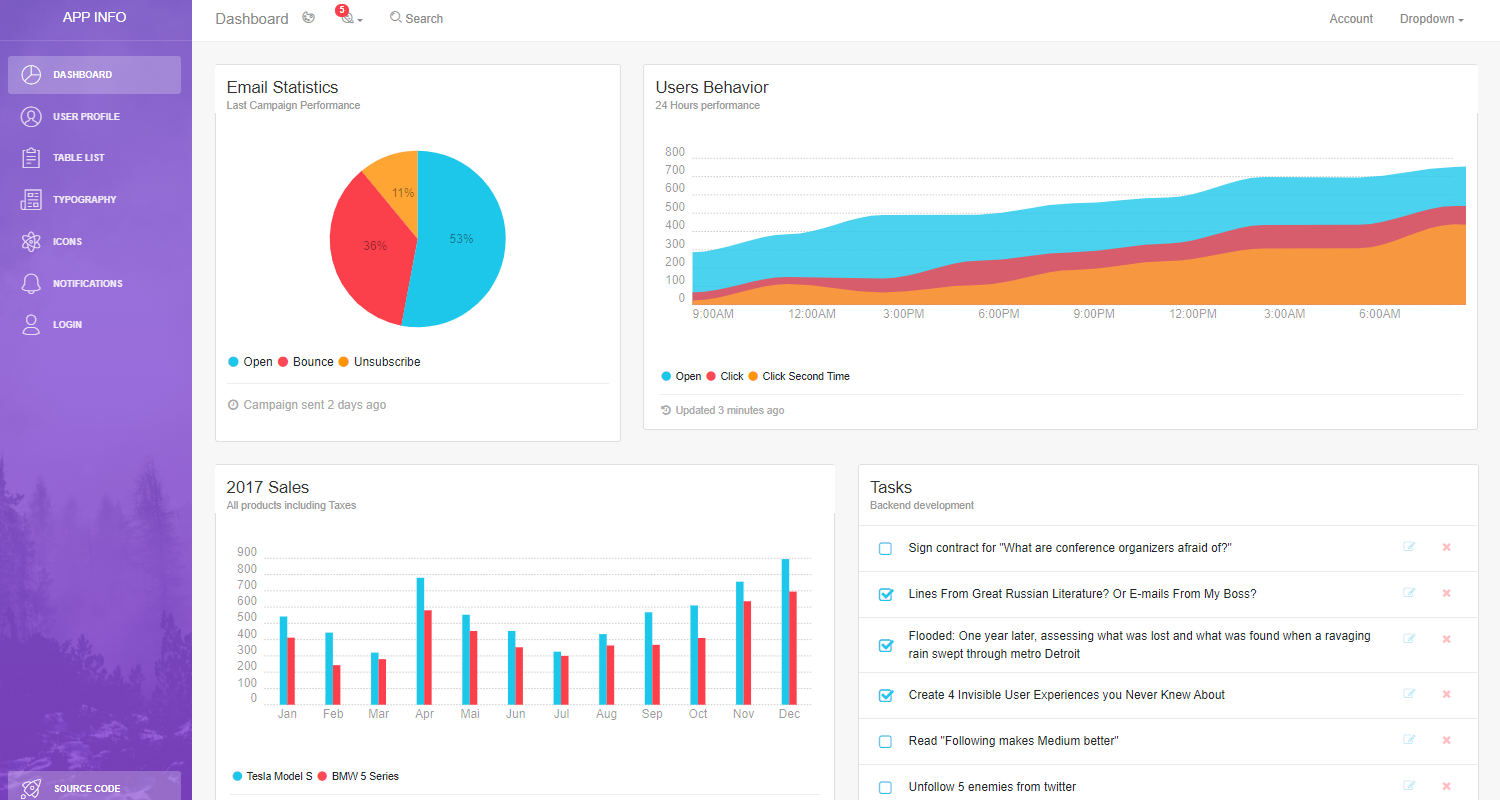
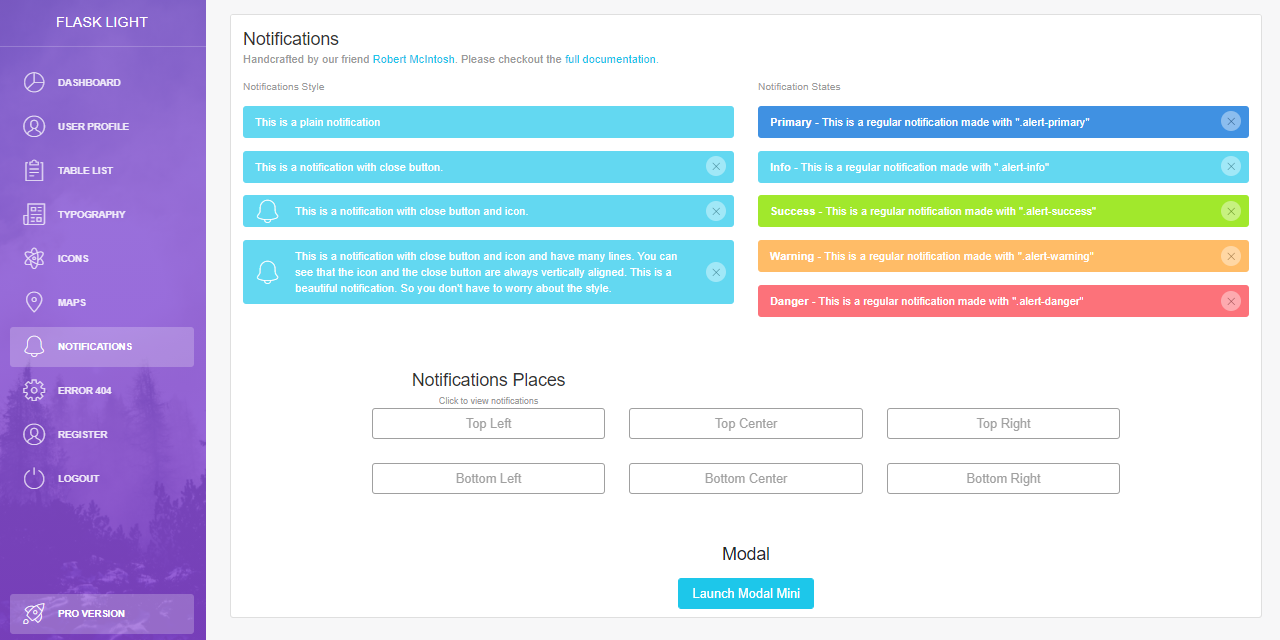
Once we pass the login, the private pages provided by this simple UI kit become available:
Thanks for reading!
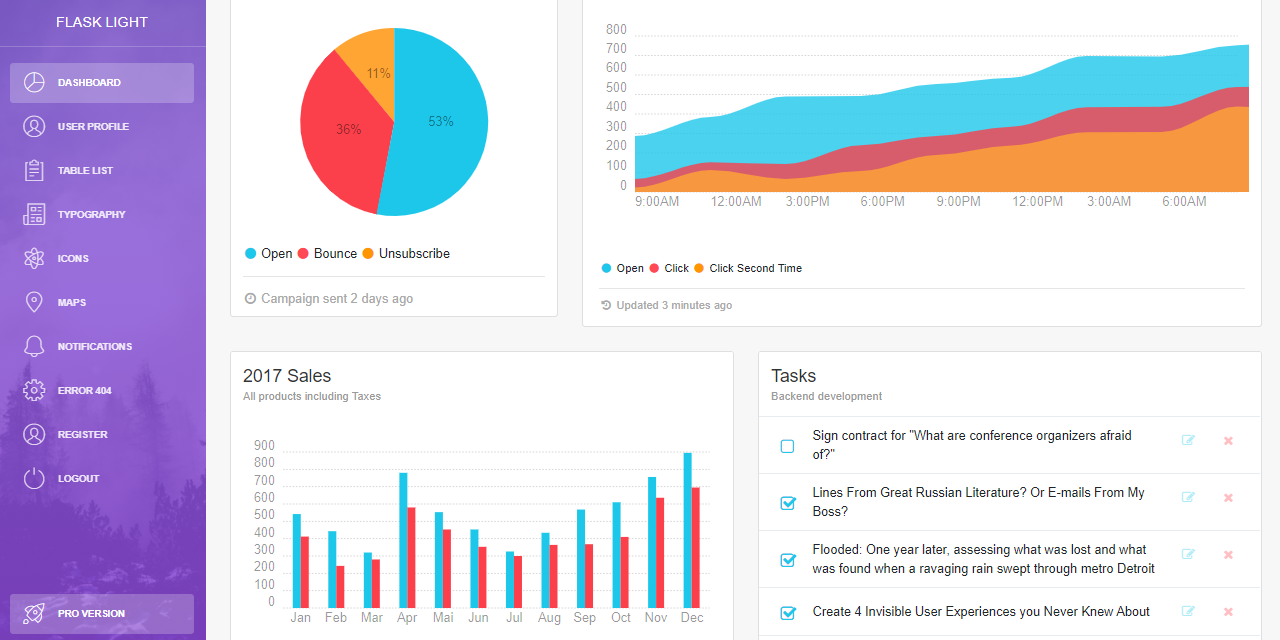
Want more? Go PRO with the premium version - Flask Light PRO
Light Bootstrap Dashboard PRO is a Bootstrap 4 Admin Theme designed to look simple and beautiful. Forget about boring dashboards and grab yourself a copy to kickstart new project! It is the easiest way to save time and money for your development.
The Light Bootstrap Dashboard PRO is not a bloated-up bundle full with stuff you don't need. We actually take pride in the amount the stuff we didn't add to it. You will only find the stuff that you actually use in this product.
- Flask Light PRO - the product page
- Flask Light PRO Demo - LIVE Deployment