React Django - Soft UI Dashboard
Open-source full-stack product crafted on top of a modern design using React and Django as the backend framework

Hello! This article presents an open-source seed project crafted on top of Soft UI dashboard design using React and Django for the backend logic. For newcomers, React is a popular JavaScript library for coding user interfaces backed by Facebook and Django is a leading web framework coded by experienced developers using a batteries-included concept. The product is released under the MIT license and is actively supported by AppSeed. Thanks for reading!
- ✨ Django React Soft Dashboard - product page
- ✨ Django React Soft Dashboard - LIVE Demo
- 🔥 React Apps - more
full-stackproducts

✨ Soft Dashboard React
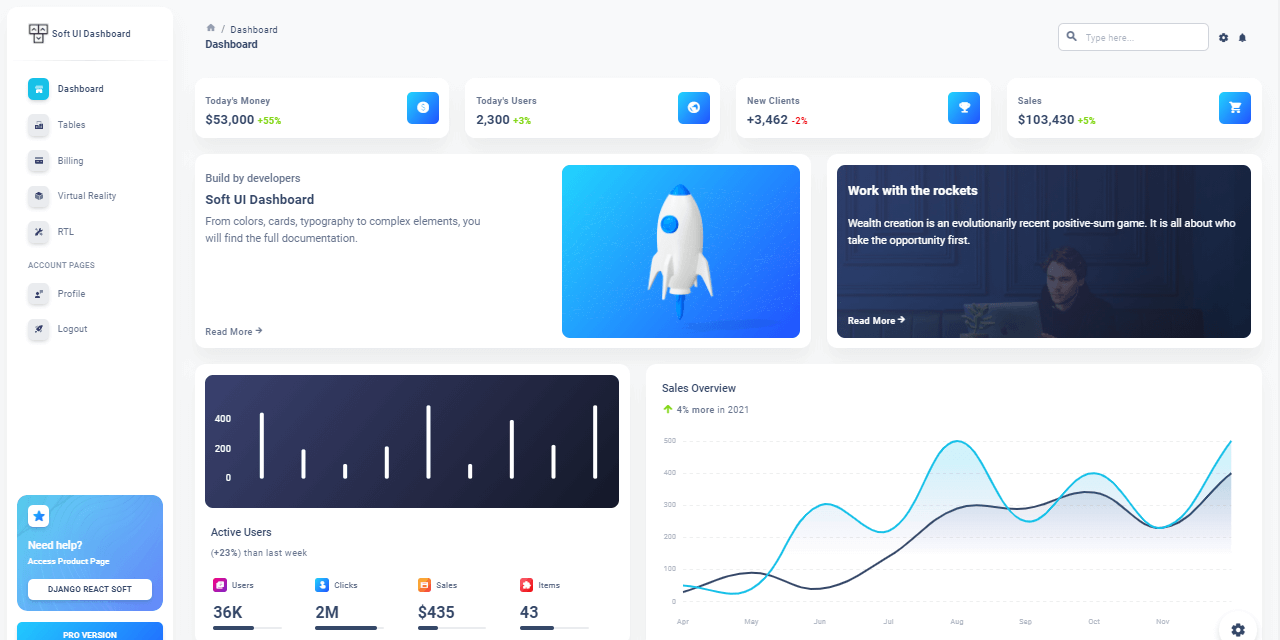
This free template is designed by Creative-Tim on top of Material-UI, the most popular components library for React. Soft UI Dashboard React is built more than 70 frontend individual elements, pre-built pages, and customized plugins.
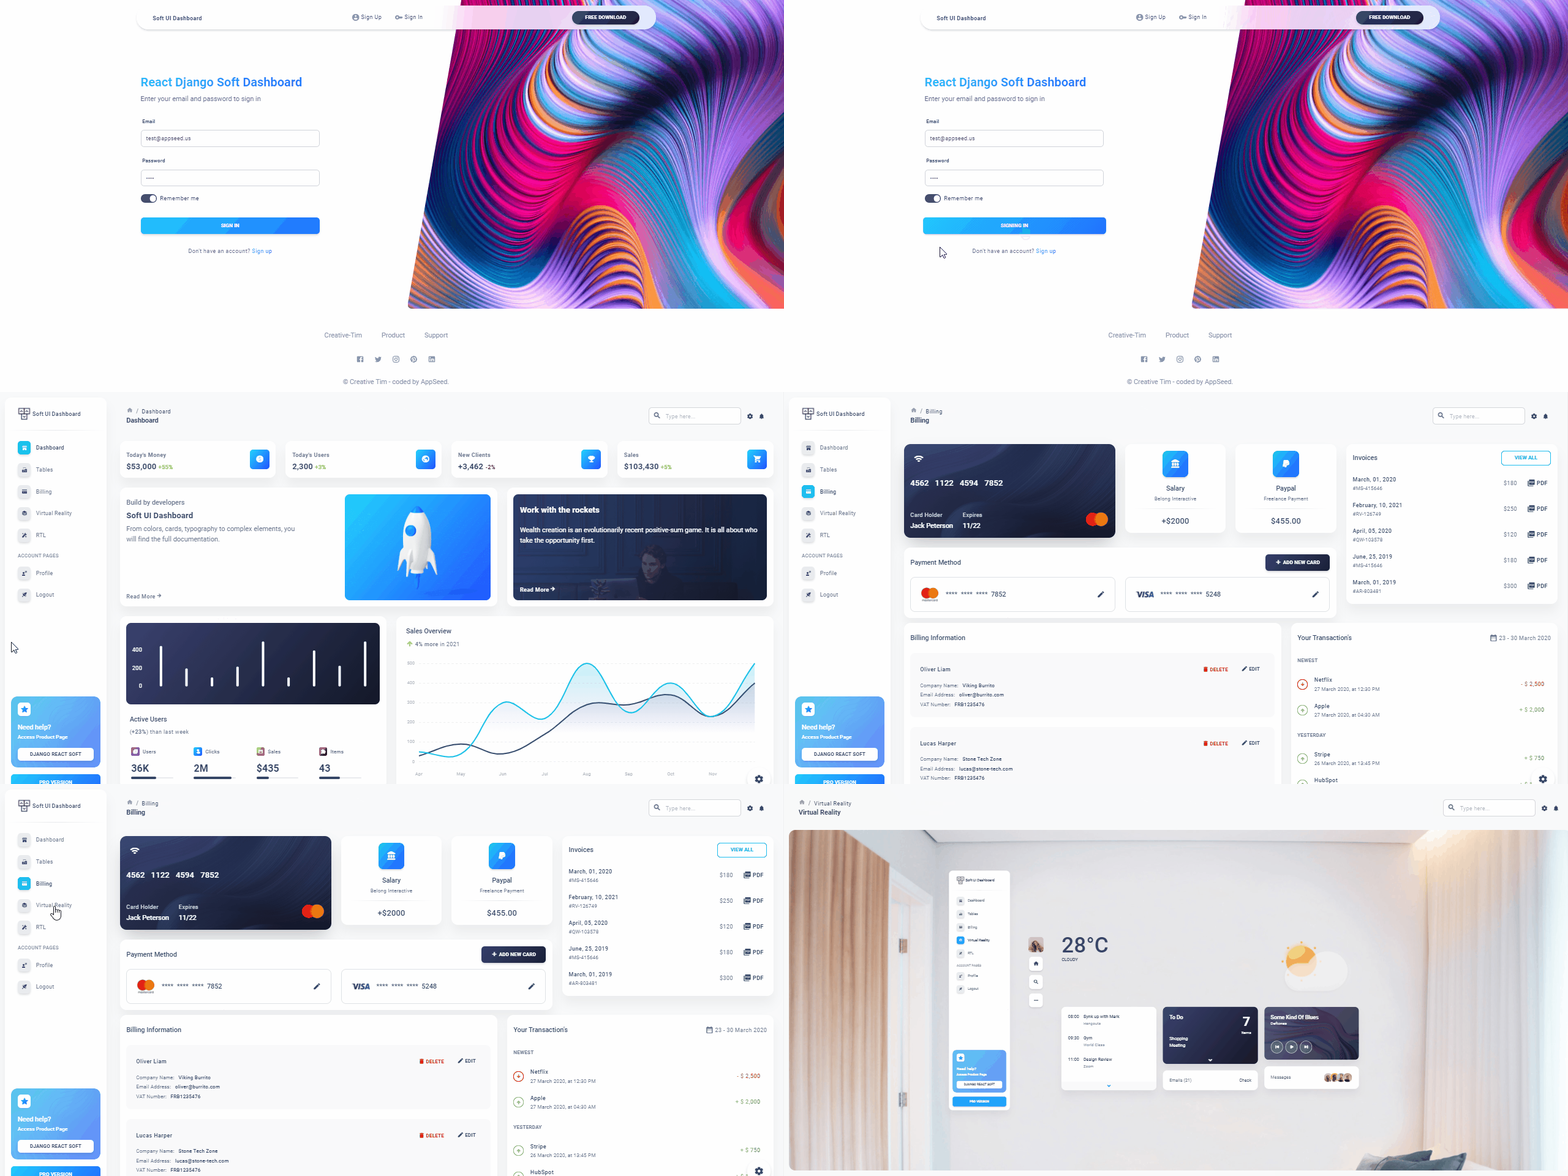
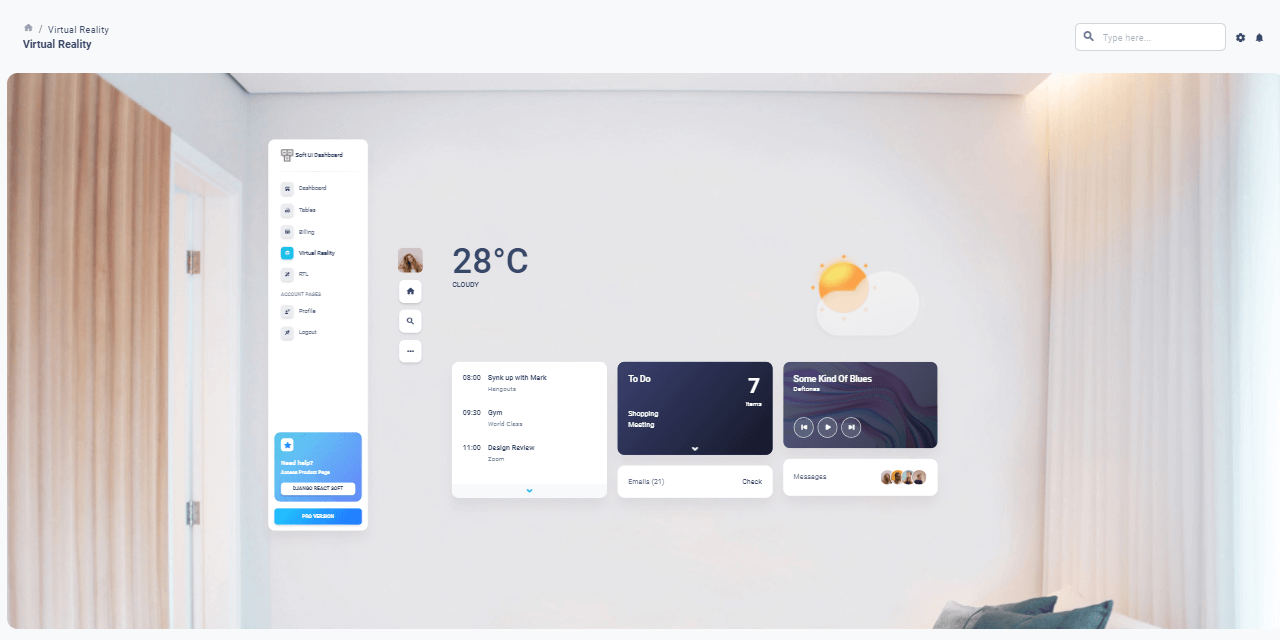
If you want to get inspiration or just show something directly to your clients, you can jump-start your development with our pre-built example pages. Every page is spaced well, with attractive layouts and pleasing shapes. Soft UI Dashboard React has everything you need to quickly set up an amazing project.

✨ How to use the product
This open-source product is a complete full-stack seed product that covers all layers from the UI to the database using a two-tier architecture:
React Frontend(Soft UI Template)JWT Authentication: users can register, Sign IN, and logoutDjango API Backend: responsible with persistence
In order to use the product, we need to build both parts: the API backend and the React Frontend. Both parts are already configured to work and communicate using compatible settings. Let's start compiling the product and use it in the browser.
✨ Start the Django API Backend
To successfully compile the backend server, Python3 and GIT should be properly installed and accessible in the terminal window.

👉 Step #1 - Clone sources using GIT
$ git clone https://github.com/app-generator/api-server-django.git
$ cd api-server-django 👉 Step #2 - Create a virtual environment
$ # Virtualenv modules installation (Unix based systems)
$ virtualenv env
$ source env/bin/activate👉 Step #3 - Install dependencies using PIP
$ pip install -r requirements.txt 👉 Step #4 - Start the API server
At this point, the server should run on port 5000 and we can test the interface using POSTMAN or curl to create and authenticate users.
✨ Start the React UI
The dependency for this part is NodeJS, a decent version closer to 12.x or above. Once the NodeJS is accessible via the terminal, we can clone the React UI from the public repository and start compiling the product.
👉 Step #1 - Clone sources using GIT
$ git clone https://github.com/app-generator/react-soft-ui-dashboard.git
$ cd react-soft-ui-dashboard 👉 Step #2 - Install dependencies via NPM or Yarn
$ npm i
// OR
$ yarn👉 Step #3 - Start in development mode
$ npm run start
// OR
$ yarn startAt this point, we should see the login page rendered by the browser on port 3000. By default guest, users are redirected to Sign IN page because all other pages like the dashboard, user profile .. etc, are protected. Once the authentication is successful, we can access all private pages.
User Profile Page - React Soft Dashboard

RTL Page - React Soft Dashboard

Thanks for reading! For more resources, please access:
- More React Apps - index provided by AppSeed
- Free React Dashboards - a popular article published on Dev
- React User Authentication - JWT Token Authentication | Blog Article
